Curious about learning to make your own chocolate bar? In this tutorial, chocolatier Simon Knott explains how make chocolate bar using couverture, with a professional finish.
Step your baking-gifting up a notch by learning how to make your own chocolate bar, to rival any craft bar from your local market. While it may seem like an unattainable goal, by using high quality couverture and mastering the skills of tempering and molding, you really can make your own pro-standard chocolate bars at home.
In this intermediate-level tutorial, professional chocolatier Simon Knott will guide you through how to make chocolate bars at home, from choosing your couverture chocolate and complementary flavors, through to tempering and molding.
Make sure to follow the related article links along the way for more info on each step, and you’ll be on your way to crafting your own chocolate bars.
Looking for something easier? Read our beginner-friendly guide to make chocolate bars with cocoa powder instead.
How to Make Your Own Chocolate Bar with Couverture
By Simon Knott, Chocolatier
With only minimal equipment, you can make your own chocolate bars at home with readily available ingredients. Although, it’s always advisable to use quality couverture chocolate to attain a professional texture and finish. Homemade chocolate bar recipes often suggest that tempering isn’t really necessary, but putting in that extra bit of effort to temper your chocolate will produce superior bars with a more satisfying texture and shine and a longer shelf life. More on tempering later, but first let’s look what supplies you need.
Equipment & Ingredients to Make Your Own Chocolate Bar
Equipment
- Bowl – for tempering and mixing the chocolate.
- Spoon for stirring.
- Spatula
- Chocolate bar mould – silicone, plastic, or polycarbonate – more info here
- Scraper or a palette knife– to scrape off the excess chocolate from the mould.
- Small bowls for add-in ingredients
- Small jug or spoon for pouring the chocolate into moulds.
Choosing the best moulds for your chocolate bars
There is a lot to think about when choosing the right mould. They are manufactured from different materials, moulded into all sorts of shapes, sizes and themes, and often require different techniques to achieve the best performance.
It’s best to keep it simple when starting out using silicone moulds, which are cheap, versatile, and easy to use. As you progress, polycarbonate moulds will offer a more professional shine to your chocolate bars, even though they are more expensive. You can even have your own moulds designed to feature your company logo and name, but this individuality will cost.
Related Article: How to Choose a Chocolate Mold for Your Budget & Project Needs
Ingredients
Couverture chocolate
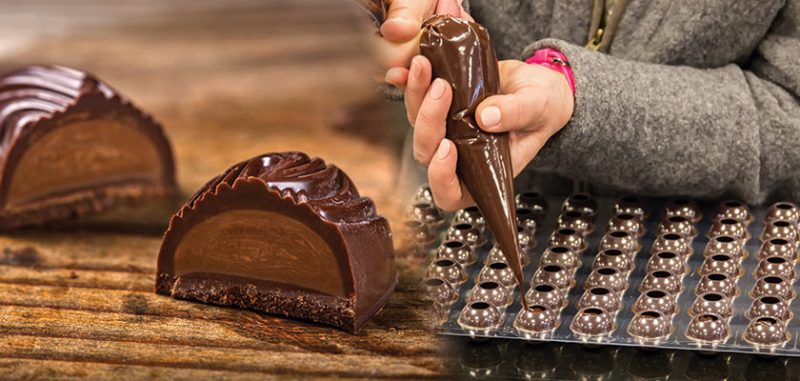
Couverture is usually formulated with a higher cocoa butter content, so it is more fluid when melted. This helps the chocolate to find its way into all the crevices of the moulds for fewer errors and a better-quality finish. Couverture chocolate is a quality product, so it’s naturally more expensive, but it’s worth paying extra for the better flavour, texture, and versatility.
Manufacturers formulate it as dark, milk and white chocolate so you can mould bars from each variety. Callebaut now even produce a plant-based vegan chocolate suitable for molding tasks, such as chocolate bar making. Take care to follow each one’s different tempering requirements. You can learn more about the different couverture chocolate brands and types here.
Sea salt (optional)
Sprinkle over just a few sea salt crystals to intensify the chocolate flavour.
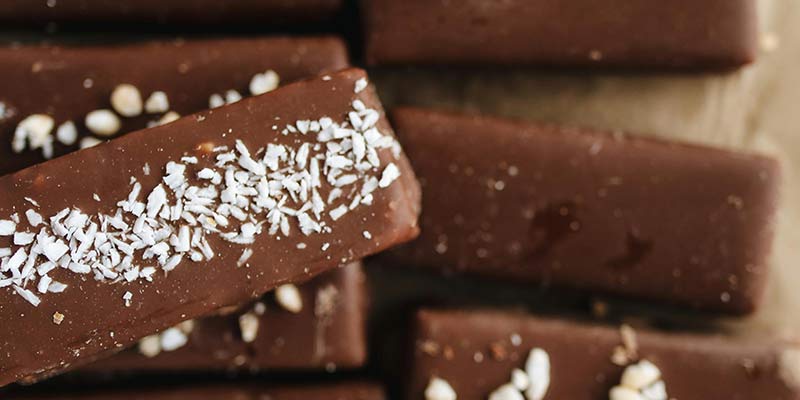
Flavours and add-ins
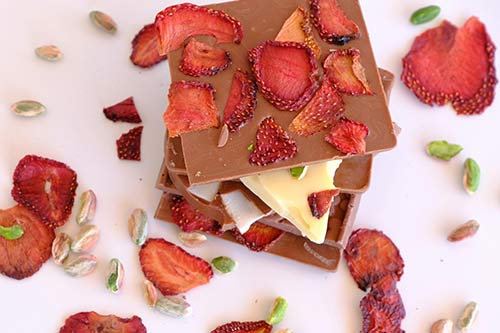
There are endless ways of bringing your chocolate bar recipes to life. Some of the most popular choices include dried fruit and nuts (raisins, almonds, pistachio), freeze-dried fruit pieces, caramel pieces, cacao nibs, spices (cinnamon, cardamom), oil flavourings (mint, orange) and crushed biscuits (digestive, Graham Cracker, Oreo, Lotus).
Add-in ingredients can either be stirred into the chocolate before pouring, so they are only just visible within the finished bar or sprinkled on the bar’s surface once it’s poured. Either way works well, and the difference is only in the presentation.
Fillings
You can make filled chocolate bars the same way as making other filled molded chocolates, although it will require more work than solid bars. Instructions for making chocolates with fillings are here.
Related Article: What’s the Best Couverture Chocolate for Molds?
The Importance of Tempering
When you buy couverture chocolate, it will already be tempered. However, when you melt it to make chocolate bars, the crystal structure in the chocolate will break down, losing the temper. So, it is necessary to re-temper the chocolate before pouring it into the mould so it has the best texture and appearance.
The tempering process creates specific cocoa butter crystals in the chocolate. Then, as the chocolate hardens, these crystals rapidly link together, creating a rigid structure, which is responsible for the pleasing snap when you break the bar apart. As the crystals link together in cooling chocolate, they occupy less space. This is why when chocolate hardens in a mould, it shrinks slightly. You will see the chocolate pulling away from the edges of the mould, making it easier to extract when hard.
One advantage of a good crystal structure is that it creates a more robust chocolate texture, which is less likely to melt from the heat of your hand. A good crystal structure also helps to stabilise ingredients within the bar from migrating to the surface. For example, when unstabilised cocoa butter molecules collect on the chocolate surface as a white powdery coating or bloom.

How Make Chocolate Bar – Method
Prepare the Equipment and Ingredients
Roughly calculate the volume of chocolate you need by slightly overfilling your moulds with chocolate callets.
Clean your moulds. Either wipe them clean with a lint-free cloth and spray alcohol or wash them in soapy water. Dry them very thoroughly so no trace of water is left.
Gather the required equipment and prepare the add-in ingredients. Chop nuts and fruit into small bite-size pieces so that when they are stirred through the chocolate, they are amalgamated and only just visible.
Temper the Chocolate
Temper the chocolate. Use your preferred method – by seeding or on marble.
Mix the add-ins into the melted chocolate thoroughly (or sprinkle over the chocolate after pouring.) Ensure the chocolate remains in the tempering range, as the add-ins may cool it slightly. If necessary, warm the add-ins slightly to overcome this.
Related Article: How to Temper Chocolate for Professional-Standard Results
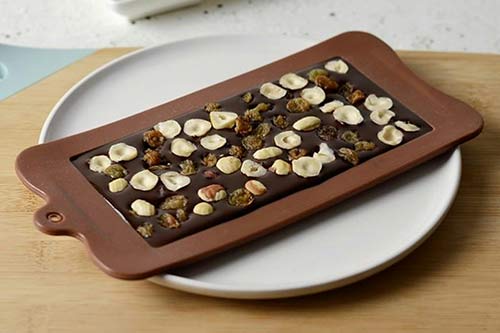
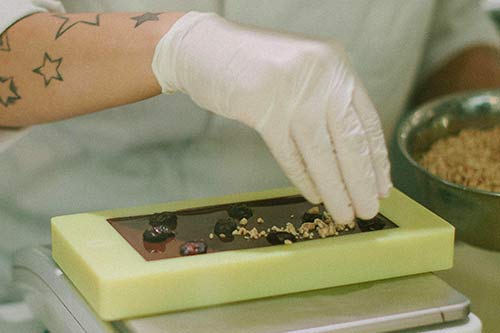
Fill the Moulds
Fill the moulds with the chocolate using a tablespoon or jug. Don’t overfill. The chocolate will start to set quite quickly, so a jug is ideal for pouring accurately and quickly.
Lift each mould a couple of inches off the tabletop and drop it sharply onto the surface. This action will release any bubbles in the chocolate, which will rise to the surface. Pop them with a cocktail stick.
Carefully move any add-in pieces around so they are evenly spread. Or, if adding add-ins afterwards, sprinkle them over now. Drop the moulds in the same way to encourage the add-in pieces to settle into the chocolate surface.
Related Article: How to Mold Chocolate
Set and Remove Chocolate
Put the filled moulds in the fridge for 20 minutes to harden. Don’t leave them longer, otherwise sugar syrup may form on the chocolate’s surface.
Take the moulds out of the fridge and gently twist each one lengthways to release the bars. To stop them shattering turn them out of the mould onto a tea towel. Always wear disposable gloves when handling the bars. It’s easy to leave fingerprints. Trim the edges of each bar with a sharp knife to neaten them if required.
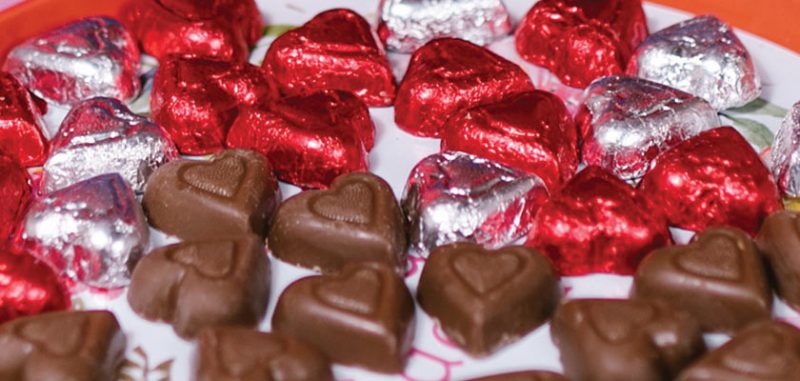
Package and Store
Wrap each bar in plastic wrap or aluminium foil.
Store the bars in cool and dry conditions, out of direct sunlight and away from strong food flavours. Bars should keep well for 6 months or 3 months if they contain nuts.
Related Article: How to Use Chocolate Wrapping Foil
Conclusion
There you have it, you have now made your own chocolate bars. As you can probably now appreciate, the most challenging aspect of how make chocolate bar is tempering the chocolate. As an aspiring chocolatier, whether for fun or professionally, tempering is an essential skills that will come up time and time again. If you have not yet learn how to temper chocolate, then now is the time to learn. One you’ve got this skill, learning how to make your own chocolate bar will become much easier, and you will be able to focus on the more creative aspects such as flavor selection and decoration.
In the meantime, you can try the recipe without tempering, or for something even easier, try making chocolate bars with cocoa powder.
Happy chocolatiering!